Leighton Buzzard

Porcelain Kitchen Grout Before and After Colouring in Leighton Buzzard

Porcelain Tiled Kitchen and Hallway Refresh in Leighton Buzzard

This Porcelain tiled floor had been laid in the hallway and kitchen of a house in Leighton Buzzard five to six years earlier. During that time the floor had become very dirty and the grout was discoloured to the point where it had turned black and no matter how hard the customer tried they were unable to get the grout clean.

On my initial visit to the property we discussed the options with the customer and decided that the best thing to do would be to thoroughly clean the grout and then seal it with grout colorant saving a messy and costly replacement of the grout.
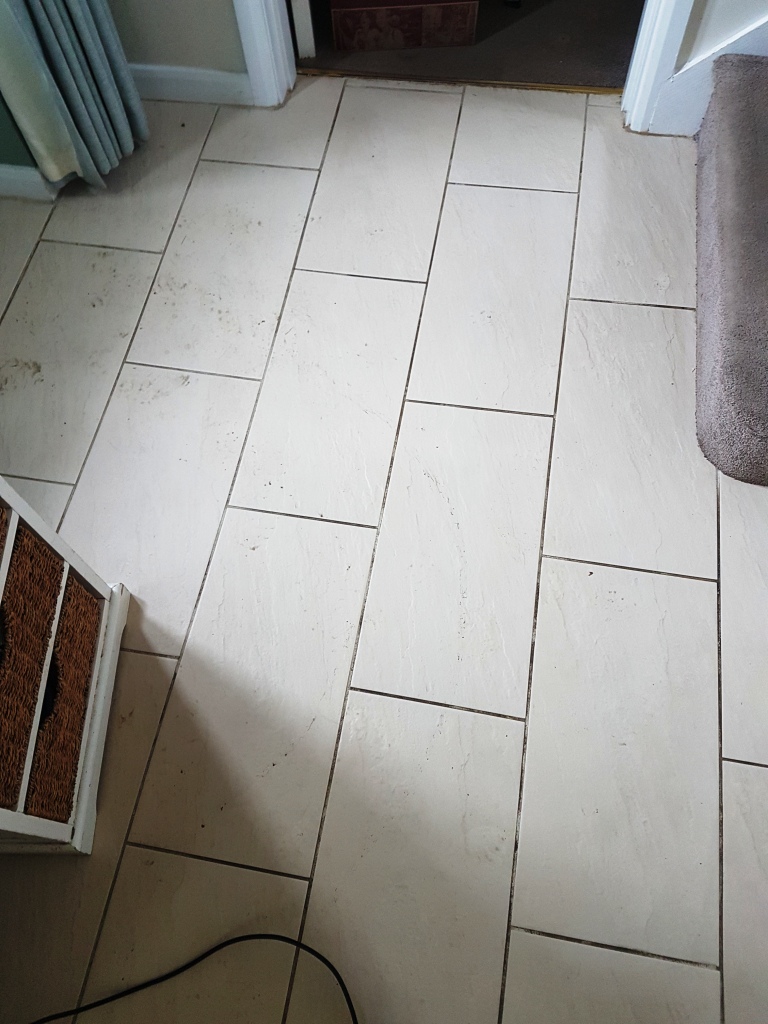
Hallway Porcelian Tile and Grout Before Cleaning Leighton Buzzard

Cleaning Porcelain Tiles and Grout

To get the porcelain tiles clean and deal with the worst of the grout I treated the floor with a strong dilution of Tile Doctor Pro-Clean. The product was mopped onto the floor and then left to dwell for 20 minutes. It was then scrubbed into the tiles with a black pad fitted to a rotary machine running on a slow speed. I also ran a stiff grout brush along the grout lines to get the grout as clean as possible.

The floor was then rinsed with water under high pressure and the slurry extracted using a wet vacuum. As we were grout colouring later I gave the grout a further scrub using Grout Colourant Pre-Treater which ensures a better bond between the grout and the colourant, this was then rinsed off with more water and also extracted using the wet vacuum.
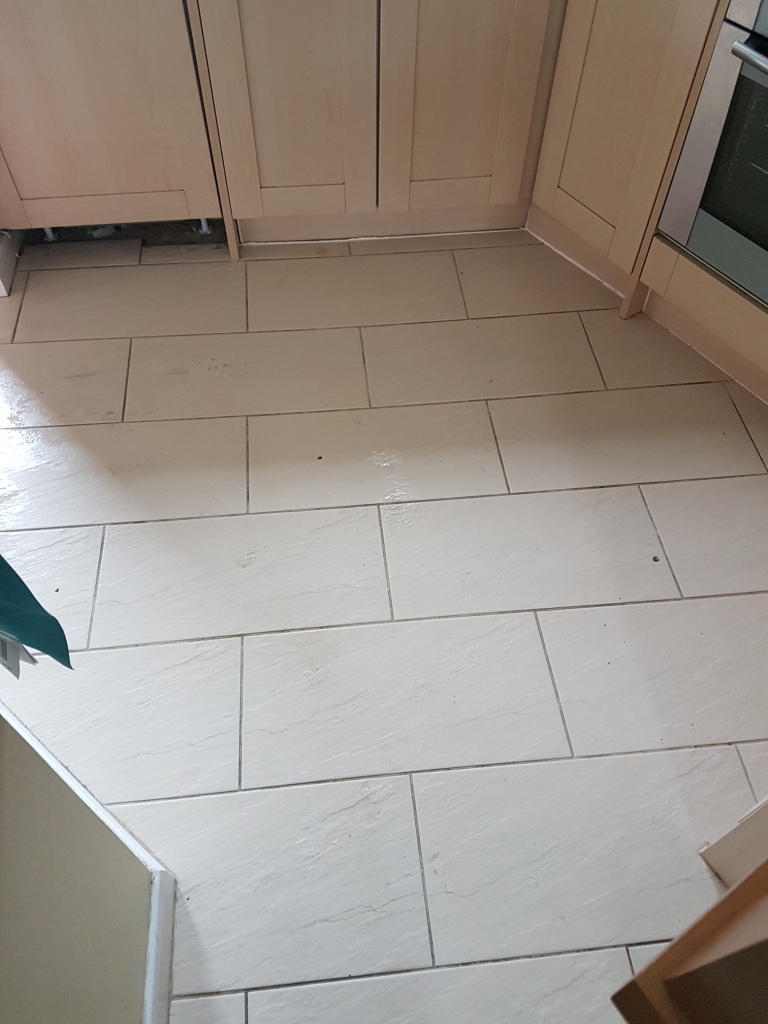
Kitchen Porcelain Tile and Grout After Cleaning Before Grout Colouring Leighton Buzzard

Re-Colouring Grout

Once the grout was dry I started applying the Grout Colourant in a colour that best matched the original grout and colour of the tile. The process is quite straight forward and involves using a small brush to carefully apply the colorant along each grout line. When I was finished, I made sure to clean any excess product off the tiles before it had time to dry.
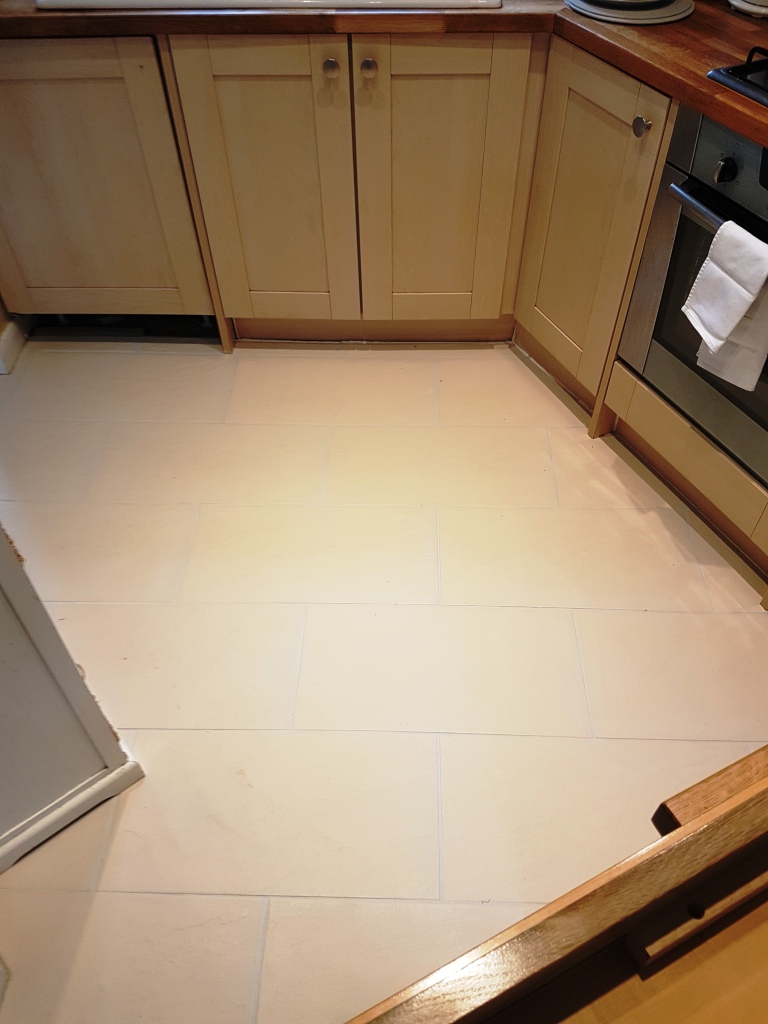
Kitchen Porcelain Tile and Grout After Cleaning and Grout Colouring Leighton Buzzard
My photographs probably don’t do the floor justice but hopefully you can appreciate how the grout is now uniform in colour and with the protection of the grout colourant which forms a barrier over the grout it will stay that way for a long time to come.

Restoring the Appearance of Porcelain Tile and Grout in Buckinghamshire

Porcelain Tiled Kitchen and Hallway Refresh in Leighton Buzzard Read More »

Ceramic Tiled Bathroom Cleaned and Sealed in Leighton Buzzard

Ceramic Tiled Bathroom Cleaned and Sealed in Leighton Buzzard

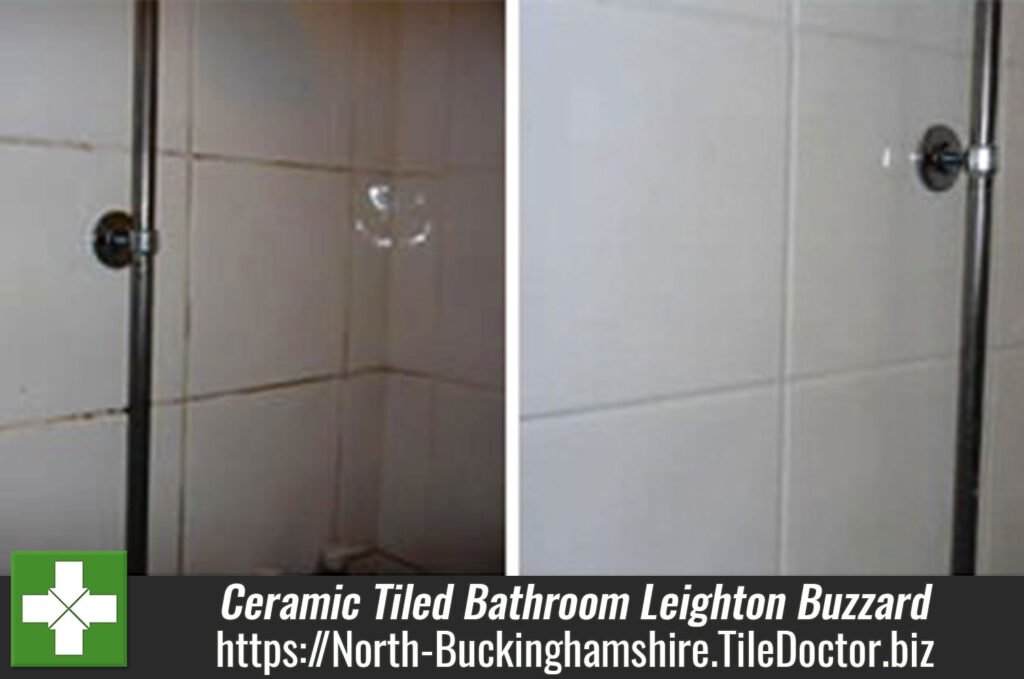
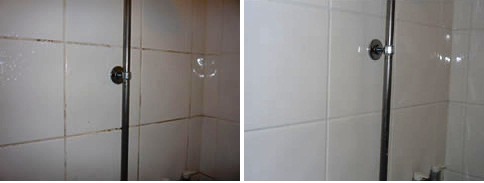
This Ceramic tiled family bathroom with shower was installed at house in Leighton Buzzard and was in need of rejuvenation. You can see from the photograph below that the tiles were in reasonable condition but the grout had become ingrained with dirt which is not unknown as the top layer of grout is porous and will discolour over time if not protected.

Cleaning Ceramic Tile and Grout

The Ceramic tiles and grout were treated using a strong 2:1 dilution of Tile Doctor Pro-Clean mixed 50/50 with Nanotech Ultraclean which combines a highly powerful Tile and Grout cleaning product with tiny abrasive particles. For vertical tiled surfaces I recommend the mixture is decanted into a bottle with a trigger spray attachment which when sprayed onto the wall allows the cleaner to mix with air making it lighter and allowing it to stick better. The solution was then worked in using a stiff scrubbing brush by hand before being rinsed off with water; this process was repeated a number of times until we had managed to clean all the areas and then left to dry.

Ceramic-Tiled-Shower-Before-and-After-Leighton-Buzzard

Sealing Grout

The grout was dried and the sealed with a couple of coats of Tile Doctor Grout Sealer which forms a protective barrier over the porous grout and keeps it looking good for longer. Most sealers can be used on grout (check the label to confirm) but for best results use a spray bottle as mixing the sealer with air improves its ability to stick to a vertical surface.

Refreshing a Ceramic Tiled Bathroom in Leighton Buzzard

Ceramic Tiled Bathroom Cleaned and Sealed in Leighton Buzzard Read More »

Terracotta Tiled Floor Cleaned and Sealed in Leighton Buzzard

Terracotta Tiled Floor Cleaned and Sealed in Leighton Buzzard

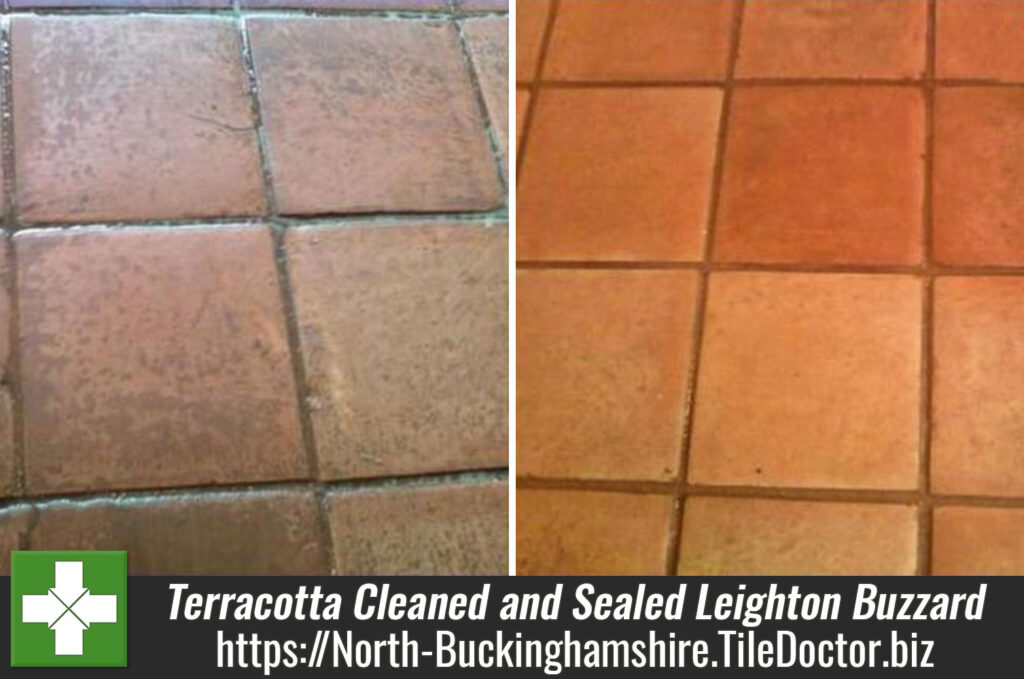
Details below of a Terracotta tiled floor at a house in Leighton Buzzard which was in need of a deep clean and re-seal.

Cleaning Terracotta Floor Tiles

To get the tiles clean we applied a strong dilution of Tile Doctor Pro-Clean mixed 50/50 with NanoTech Ultra Clean which combines into a heavy duty alkaline cleaner containing nano sized abrasive particles that cleans deep into the tile. For best results let the cleaning solution dwell on the surface of the tile for 10-20 minutes before working it into the tiles with a rotary machine fitted with a black scrubbing pad. The soiled solution was then removed from the floor using a wet and dry vacuum and the stubborn areas treated with a steamer, following that the whole floor was washed down to remove any remaining chemical before sealing.

Leighton Buzzard Terracotta Before and After

Terracotta Tile Sealing

We returned when the floor was dry to seal using seven coats of Tile Doctor Seal and Go (Terracotta is very porous) which works well on Terracotta adding a nice shine to the tile as well as providing on-going stain protection.

Terracotta Floor Maintained in Leighton Buzzard

Terracotta Tiled Floor Cleaned and Sealed in Leighton Buzzard Read More »

Scroll to Top