Grout Cleaning

Welcome to my Work History archive where you will find detailed examples of the cleaning and renovation of Grout carried out in North Buckinghamshire

Cleaning and Renovating Grout

The top layer of grout is porous and can absorb grease, dirt and limescale. Spillages such as wine, lemonades or greasy substances will cause marks and patches in the joints in the floor. Grout between wall-tiles particularly in damp areas like bathrooms will become dirty and unattractive as a result of Mould, Mildew and Limescale.

Mould is one of the most unsightly problems, which usually starts off in the wettest area of the room, this could be the bottom of the shower or bath, then starts to spread and if left unchecked could cover a large area of the wall.

Another common issue we find is a problem known as Grout Haze or Grout Smearing where a thin layer of grout has been left to set on the surface of the tile. Once grout has set it is difficult to remove.

Discolouration of grout joints in bath or shower areas due to continued use of acid formulated shampoos and soaps. This causes yellow orange and pink stains to the grout over even a short period of time. Whilst Grout Joints can be cleaned, badly stained grout may need to be re-coloured.

Protecting your grout in advance with a sealer will prevent most of these issues and although relatively unknown in the UK, protection awareness is growing. Sealing forms an invisible barrier between the grout and the surface, this will then protect your investment for years to come.

We have solutions for all the problems listed above and below you will find detailed examples of work we have carried out in the past to resolve many of these issues. It should give you some idea of what’s involved and what can be achieved with the right techniques and products.


Terracotta Tile Before and After Restorative Clean in Amersham

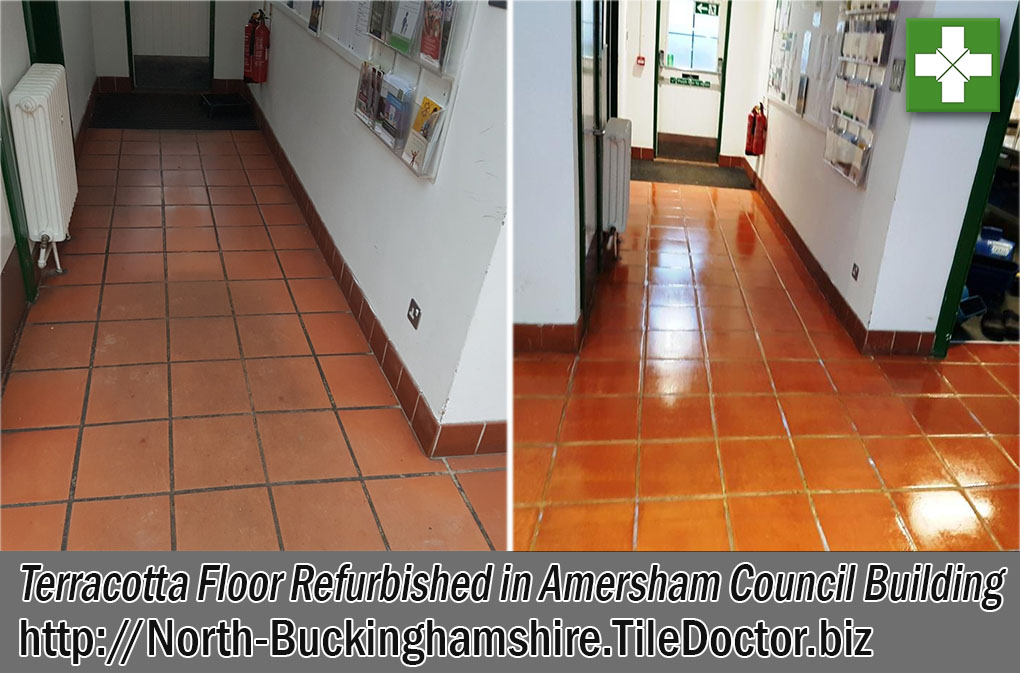
Terracotta Tiled Floor Refurbished in Amersham Council Building

A local cleaning contractor called us in to work on the Terracotta tiled floors at a council building in Amersham. The Terracotta had not been deep cleaned and resealed for about ten years and the sealer had worn off leaving the tile vulnerable to dirt becoming ingrained in the pores of the tile. The grout had also suffered the same fate and had almost gone black in many areas.
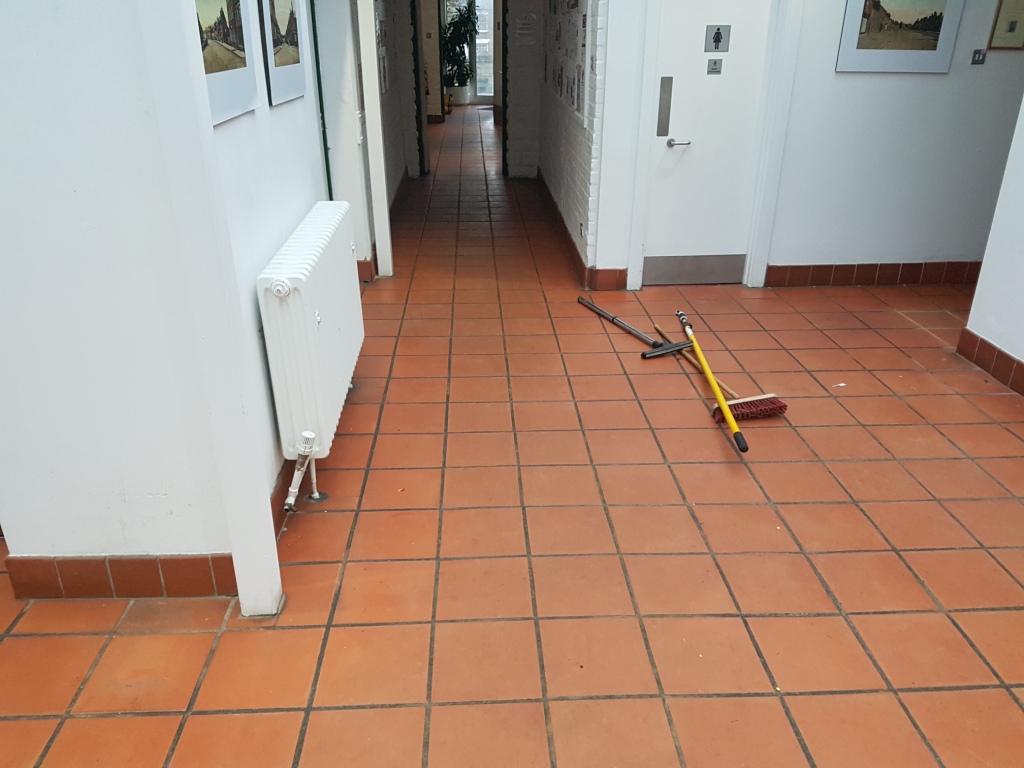
Terracotta Floor Files Before Cleaning Amersham Council Offices
This is a common problem with Terracotta which is quite porous and once those pores become ingrained with dirt the tile becomes difficult to clean effectively. The solution is to seal the tile however sealers wear off over time and this was basically the problem.

Terracotta Floor Files Before Cleaning Amersham Council Offices
After discussing the issues we agreed on a plan of action to deep clean the Terracotta tile and grout and then re-seal to protect it. Due to the busy nature of the building we agreed to do the work between Christmas and New Year when we knew the building would be empty.

Cleaning Old Terracotta Floor Tiles

We started by applying a strong dilution of Tile Doctor Oxy-Gel which is a strong tile cleaning product that being in a gel form ensures it sits on the tile for longer, giving it a longer effective dwell time so it can really eat into and loose the dirt. After approximately twenty minutes the gel was scrubbed into the tile with a black scrubbing pad fitted to a rotary machine. This broke down most of the dirt and removed any remaining sealer. Once the whole floor had been treated in this manner it was rinsed thoroughly with water which was then extracted using a wet vacuum.

With the soiled cleaning solution removed I could see the next step would be to spot clean stubborn staining and clean the grout. For this task I used a strong dilution of Tile Doctor Pro-Clean scrubbing it in by hand using stiff brushes and aided with a hand-held steamer to help treat the stubborn staining. Once done the floor was given a final rinse and then as much moisture as possible removed with the wet vacuum.

Sealing Old Terracotta Floor Tiles

We then left the floor to dry off completely and came back a couple of days later to seal the Terracotta tile.

I mentioned earlier that Terracotta is porous; in fact it’s probably the most porous material I deal with, so to fully seal the floor I had to apply eight coats of Tile Doctor Seal and Go which will provide complete and long lasting protection against staining and dirt. Seal and Go also adds an appealing satin sheen to the tile and the new seal will make it much easier to clean in future.
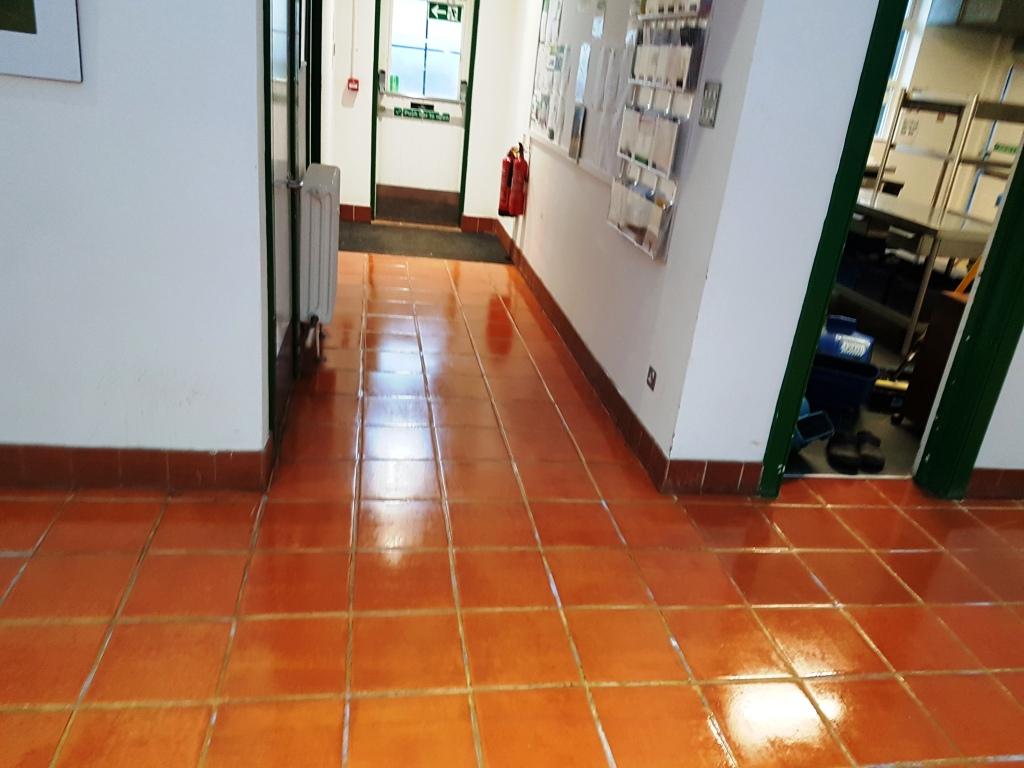
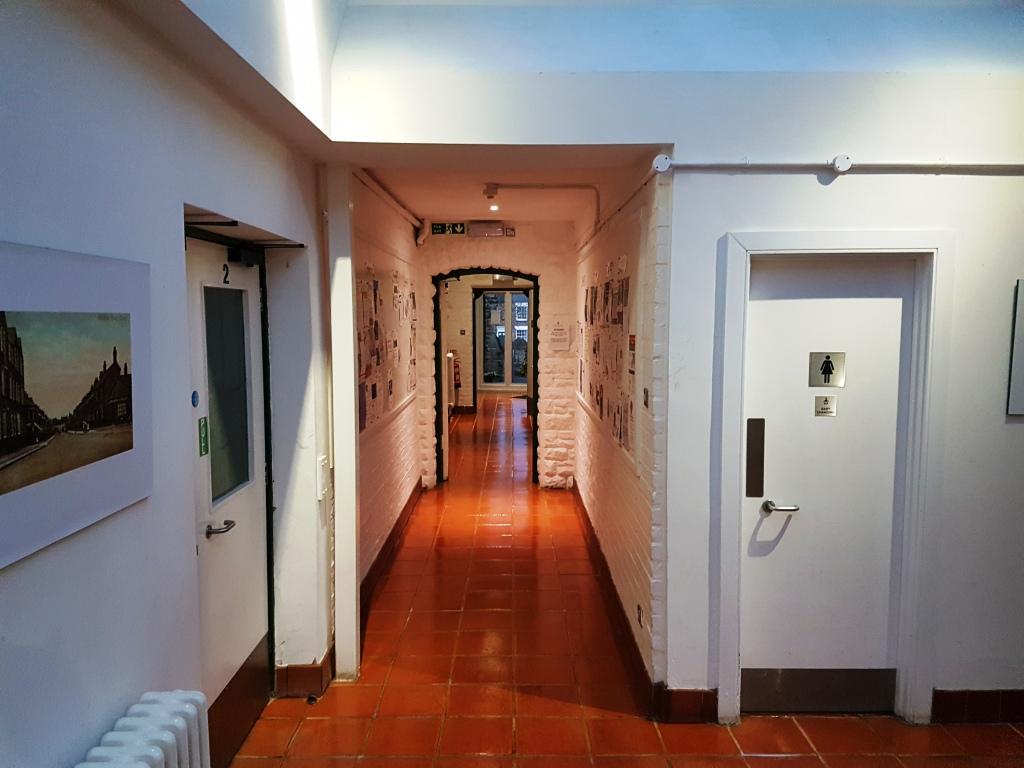
Terracotta Floor Files After Cleaning Amersham Council Offices
The floor tile and grout now look much healthier and I’m sure the council will be very impressed when they go back to work after the holidays.

Terracotta Floor Files After Cleaning Amersham Council Offices
Happy New Year…

Professional Terracotta Tiled Floor Renovation in Buckinghamshire

Terracotta Tiled Floor Refurbished in Amersham Council Building Read More »

Porcelain Kitchen Grout Before and After Colouring in Leighton Buzzard

Porcelain Tiled Kitchen and Hallway Refresh in Leighton Buzzard

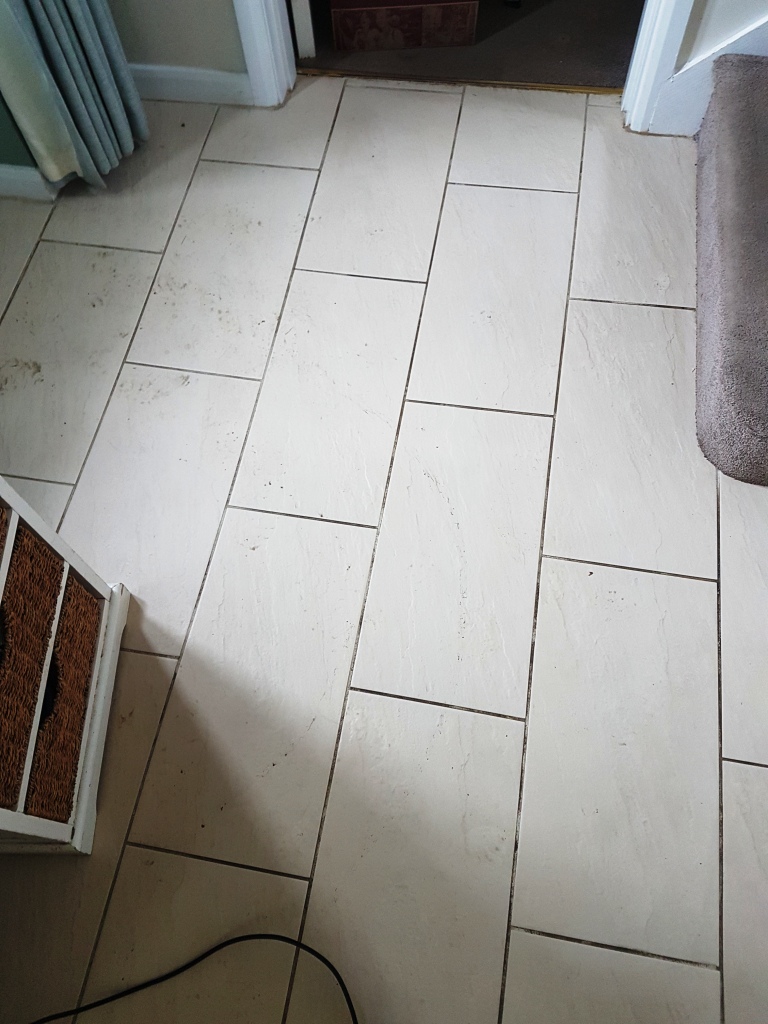
This Porcelain tiled floor had been laid in the hallway and kitchen of a house in Leighton Buzzard five to six years earlier. During that time the floor had become very dirty and the grout was discoloured to the point where it had turned black and no matter how hard the customer tried they were unable to get the grout clean.

On my initial visit to the property we discussed the options with the customer and decided that the best thing to do would be to thoroughly clean the grout and then seal it with grout colorant saving a messy and costly replacement of the grout.

Hallway Porcelian Tile and Grout Before Cleaning Leighton Buzzard

Cleaning Porcelain Tiles and Grout

To get the porcelain tiles clean and deal with the worst of the grout I treated the floor with a strong dilution of Tile Doctor Pro-Clean. The product was mopped onto the floor and then left to dwell for 20 minutes. It was then scrubbed into the tiles with a black pad fitted to a rotary machine running on a slow speed. I also ran a stiff grout brush along the grout lines to get the grout as clean as possible.

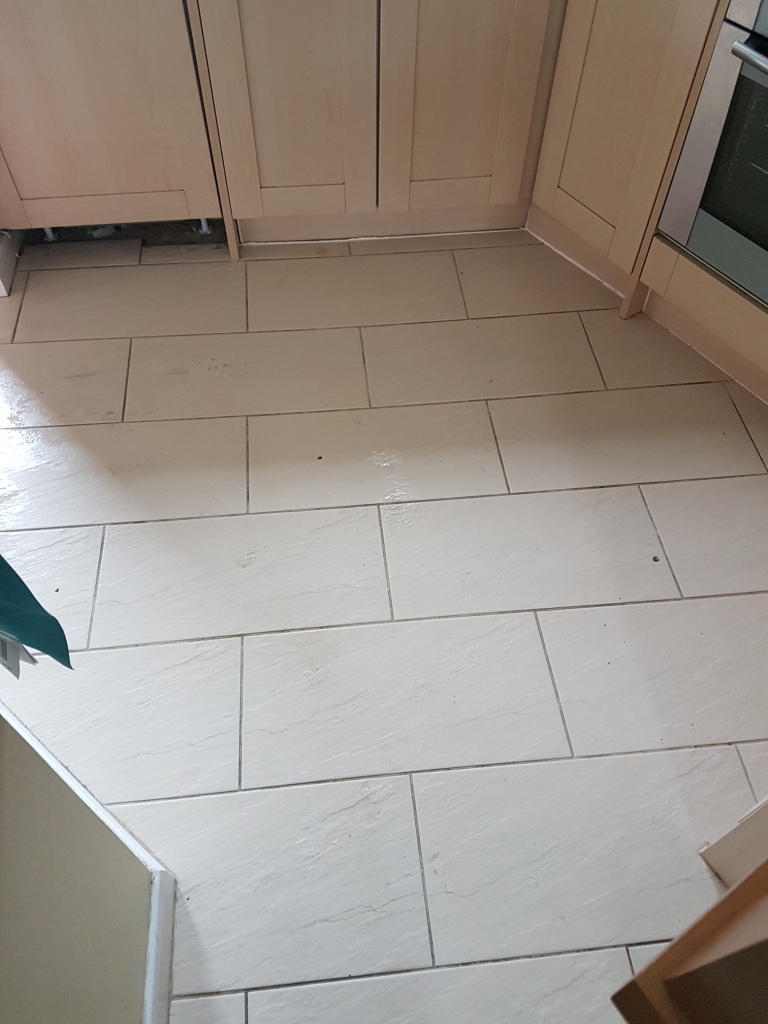
The floor was then rinsed with water under high pressure and the slurry extracted using a wet vacuum. As we were grout colouring later I gave the grout a further scrub using Grout Colourant Pre-Treater which ensures a better bond between the grout and the colourant, this was then rinsed off with more water and also extracted using the wet vacuum.

Kitchen Porcelain Tile and Grout After Cleaning Before Grout Colouring Leighton Buzzard

Re-Colouring Grout

Once the grout was dry I started applying the Grout Colourant in a colour that best matched the original grout and colour of the tile. The process is quite straight forward and involves using a small brush to carefully apply the colorant along each grout line. When I was finished, I made sure to clean any excess product off the tiles before it had time to dry.

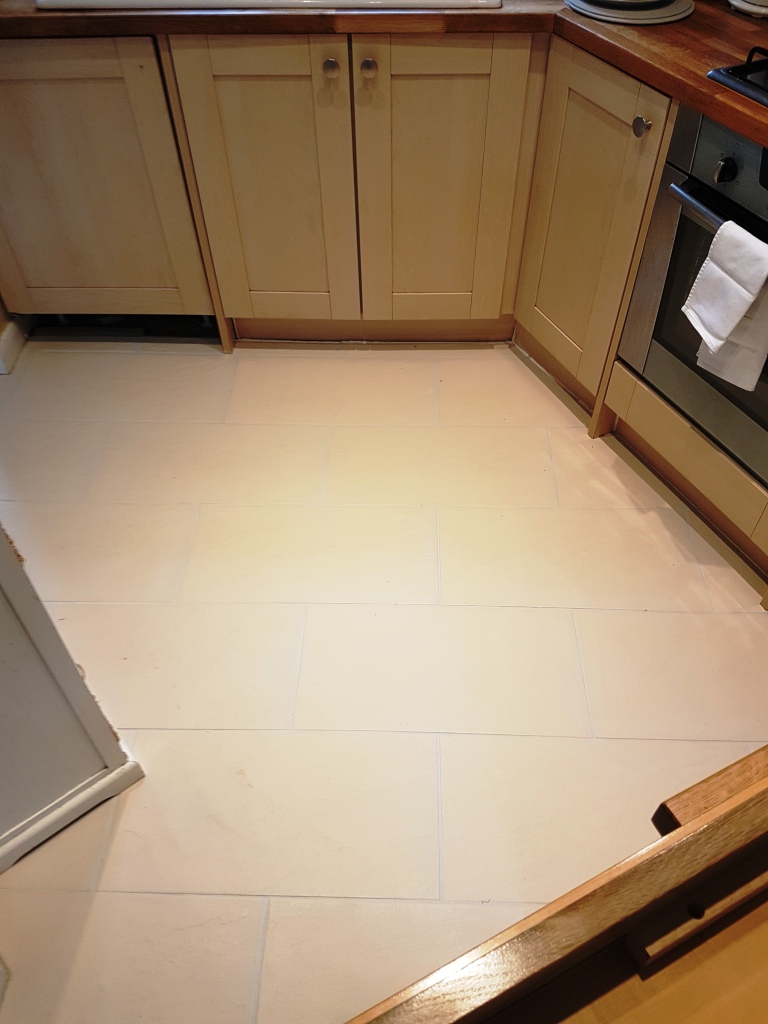
Kitchen Porcelain Tile and Grout After Cleaning and Grout Colouring Leighton Buzzard
My photographs probably don’t do the floor justice but hopefully you can appreciate how the grout is now uniform in colour and with the protection of the grout colourant which forms a barrier over the grout it will stay that way for a long time to come.

Restoring the Appearance of Porcelain Tile and Grout in Buckinghamshire

Porcelain Tiled Kitchen and Hallway Refresh in Leighton Buzzard Read More »

=================================

North Buckinghamshire Tile Doctor

================================= Read More »

Scroll to Top