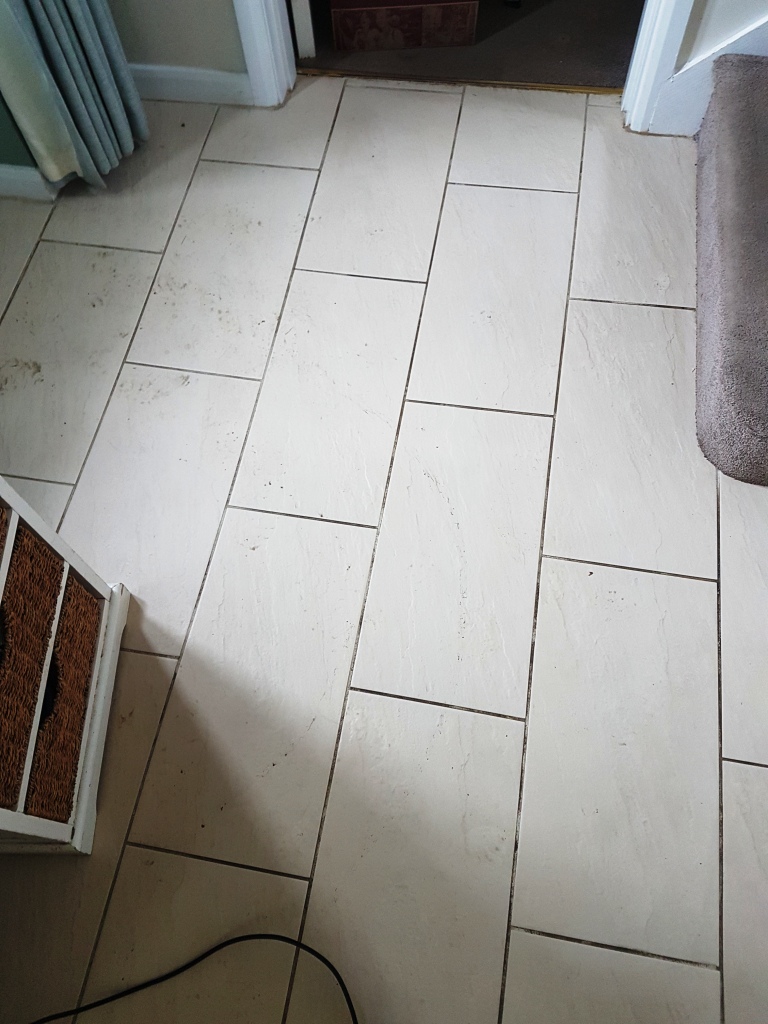
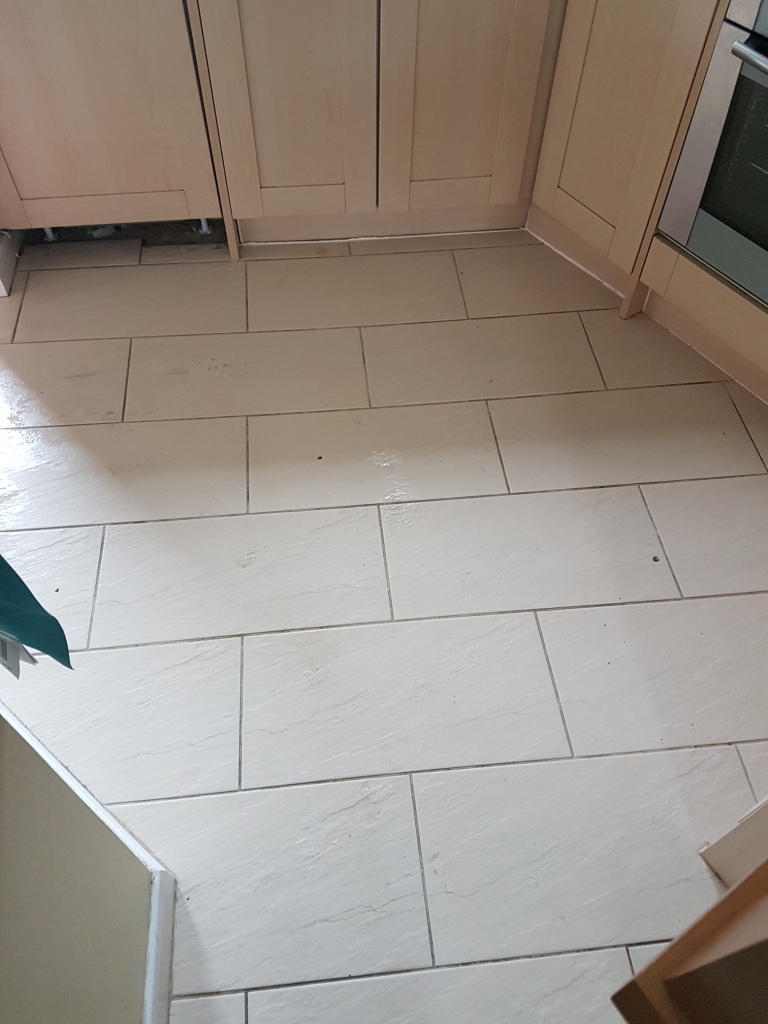
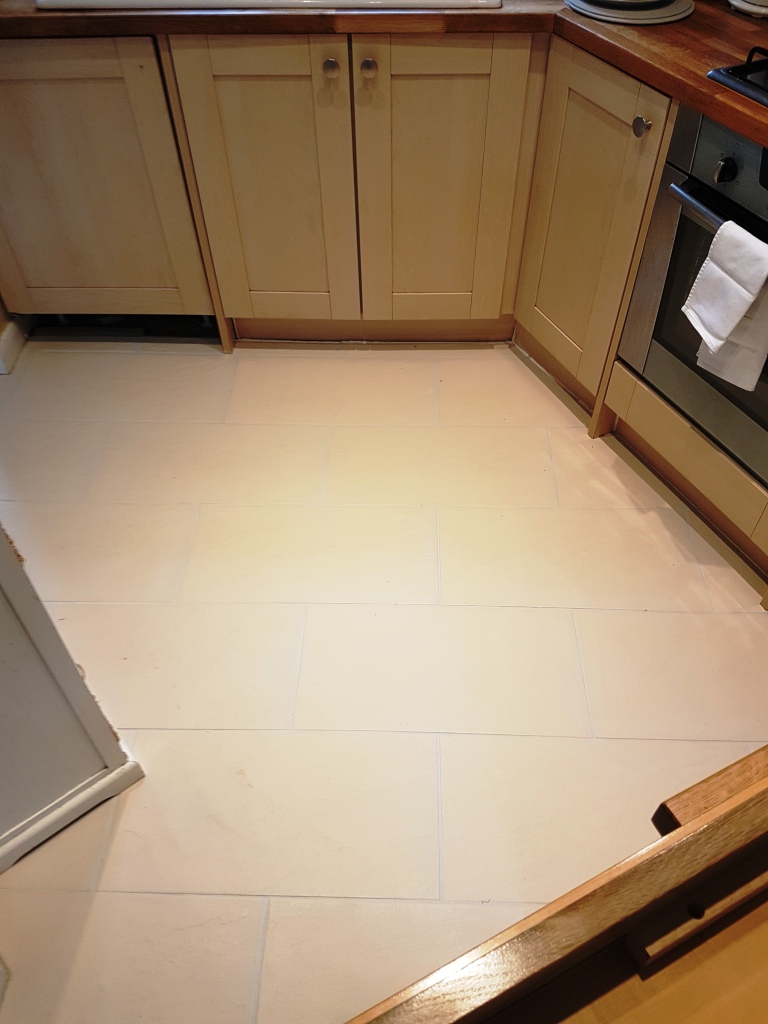
This Porcelain tiled floor had been laid in the hallway and kitchen of a house in Leighton Buzzard five to six years earlier. During that time the floor had become very dirty and the grout was discoloured to the point where it had turned black and no matter how hard the customer tried they were unable to get the grout clean.
On my initial visit to the property we discussed the options with the customer and decided that the best thing to do would be to thoroughly clean the grout and then seal it with grout colorant saving a messy and costly replacement of the grout.

Cleaning Porcelain Tiles and Grout
To get the porcelain tiles clean and deal with the worst of the grout I treated the floor with a strong dilution of Tile Doctor Pro-Clean. The product was mopped onto the floor and then left to dwell for 20 minutes. It was then scrubbed into the tiles with a black pad fitted to a rotary machine running on a slow speed. I also ran a stiff grout brush along the grout lines to get the grout as clean as possible.
The floor was then rinsed with water under high pressure and the slurry extracted using a wet vacuum. As we were grout colouring later I gave the grout a further scrub using Grout Colourant Pre-Treater which ensures a better bond between the grout and the colourant, this was then rinsed off with more water and also extracted using the wet vacuum.

Re-Colouring Grout
Once the grout was dry I started applying the Grout Colourant in a colour that best matched the original grout and colour of the tile. The process is quite straight forward and involves using a small brush to carefully apply the colorant along each grout line. When I was finished, I made sure to clean any excess product off the tiles before it had time to dry.


If your grout is new then best to seal it now with a grout sealer before it becomes stained and difficult to clean, for regular cleaning use Tile Doctor Oxy-Pro which is a specially designed product for the regular cleaning of Shower Cubicle tiles and is very easy to use.